
How we build

An ADU is a small house. We build it like one.

Every pre-approved plan goes through the same stages as a full-size home: site prep, foundation, framing, roof, rough-ins and finish. Here's what each stage looks like on our jobs, with photos from Central Oregon sites we've built on.

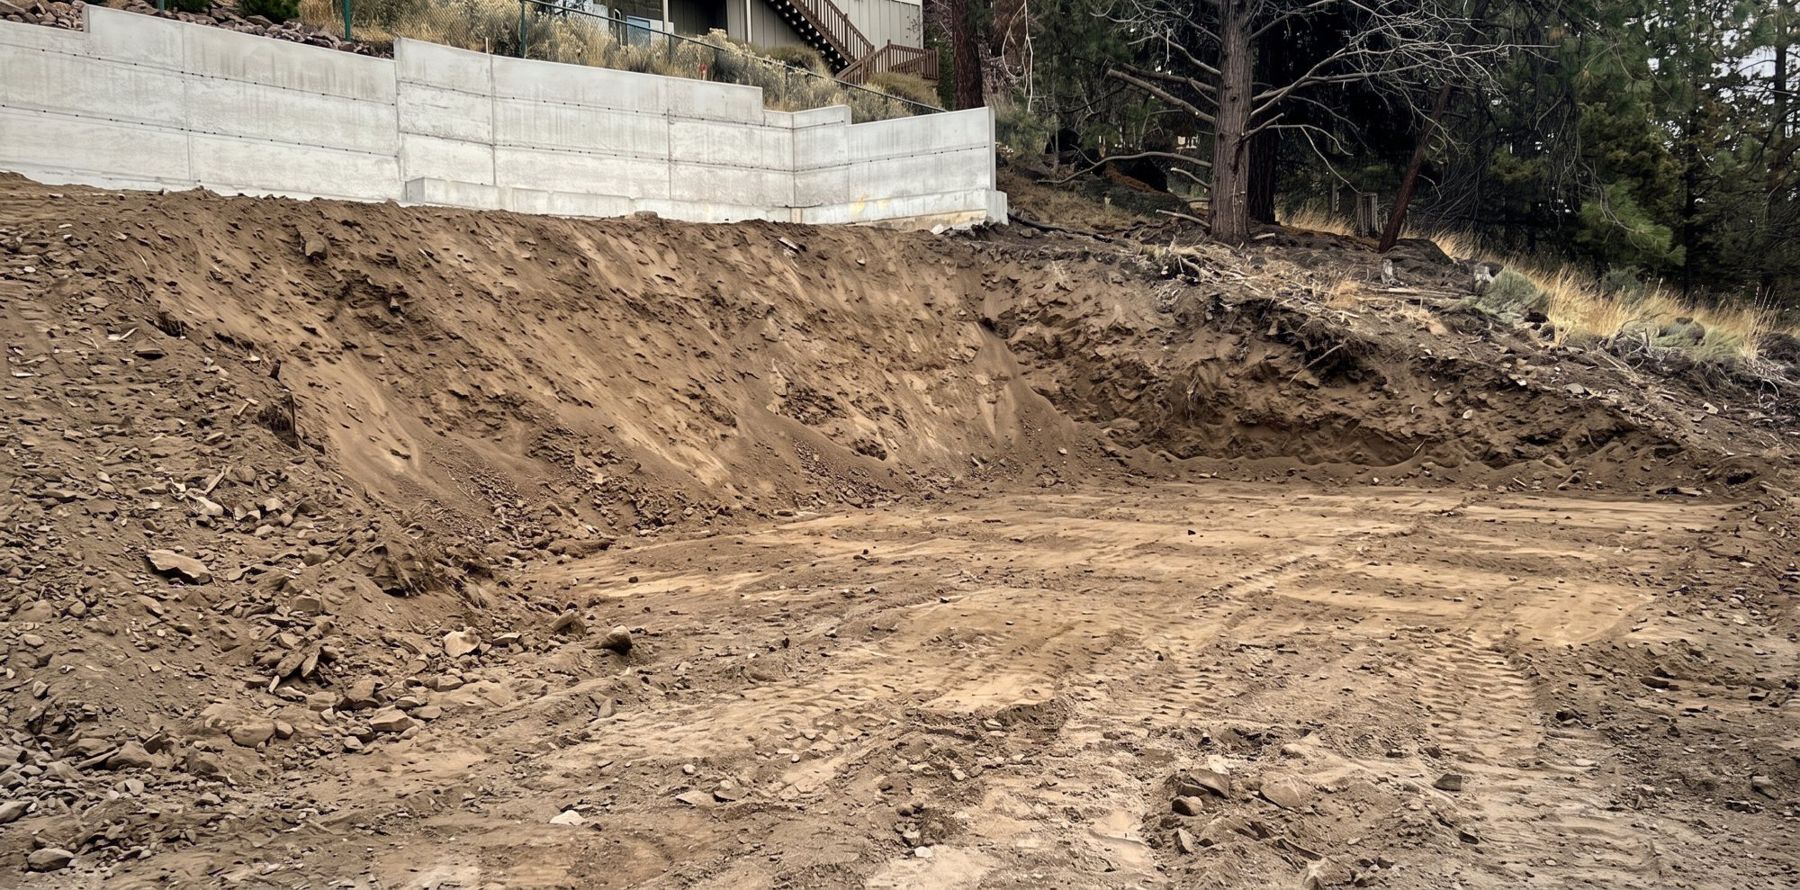
Excavated and graded building pad below a new concrete retaining wall on a Bend lot

Stage 1

Site prep

Before any concrete, the lot gets ready for it. We bring in the right people to grade the site, take measurements and drop corner stakes so the footprint sits exactly where the site plan says it does, then trench for the sewer, water and power lines running between the ADU and the main house.

What matters
Grading, corner stakes set to the site plan, utility trenches
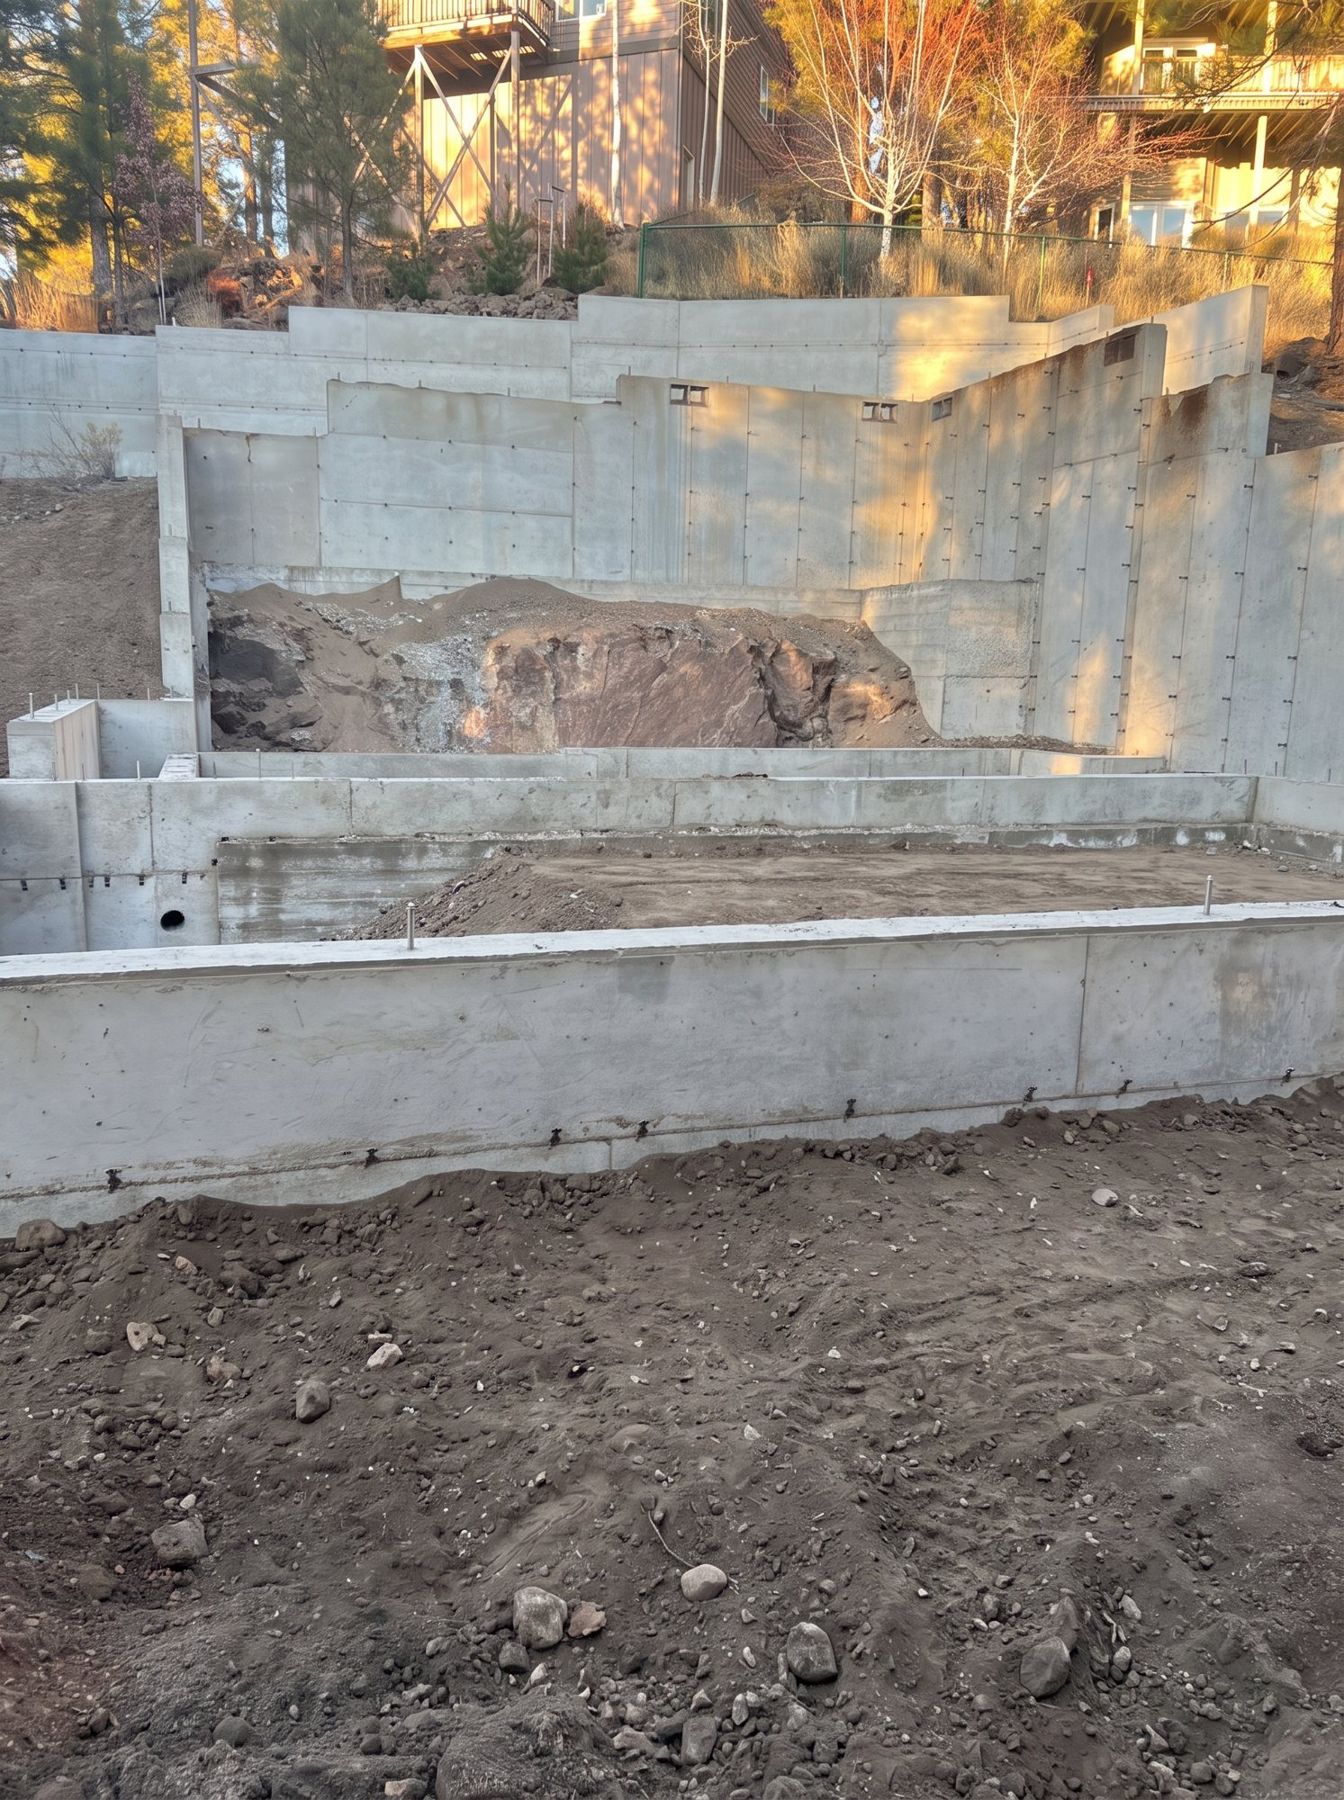
Poured concrete stem walls and footings stepping up a sloped Bend lot, ready for backfill

Stage 2

Foundation

Everything above depends on this. We set forms to the plan's exact footprint, confirm the setbacks one more time before the pour, and pour on a day the weather cooperates, not the day that's convenient. Stem walls and slab are inspected by the City before anything goes on top.

What matters
Footprint accuracy, drainage, inspection sign-off
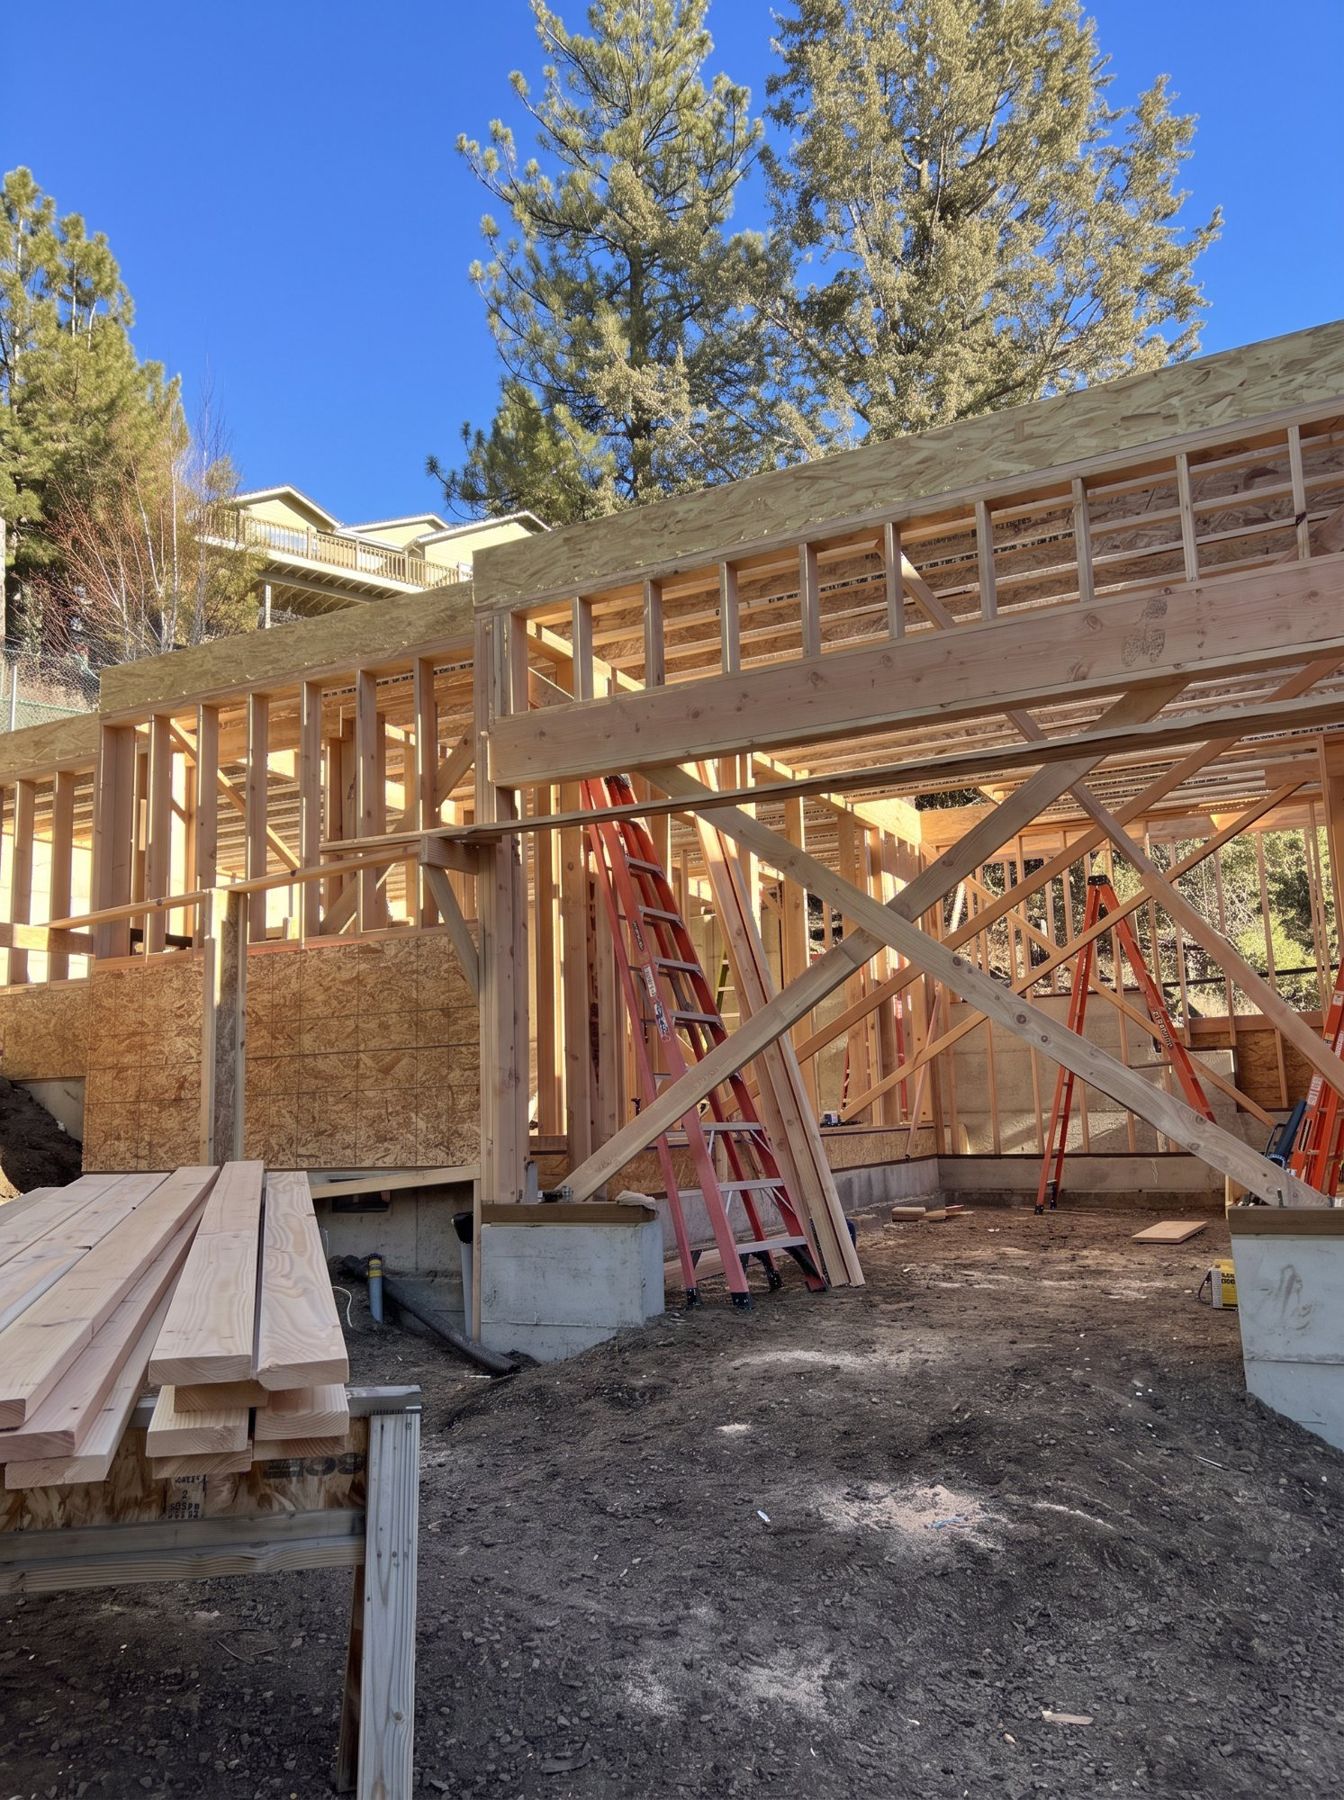
Framed walls and header beams with temporary bracing, sheathing started
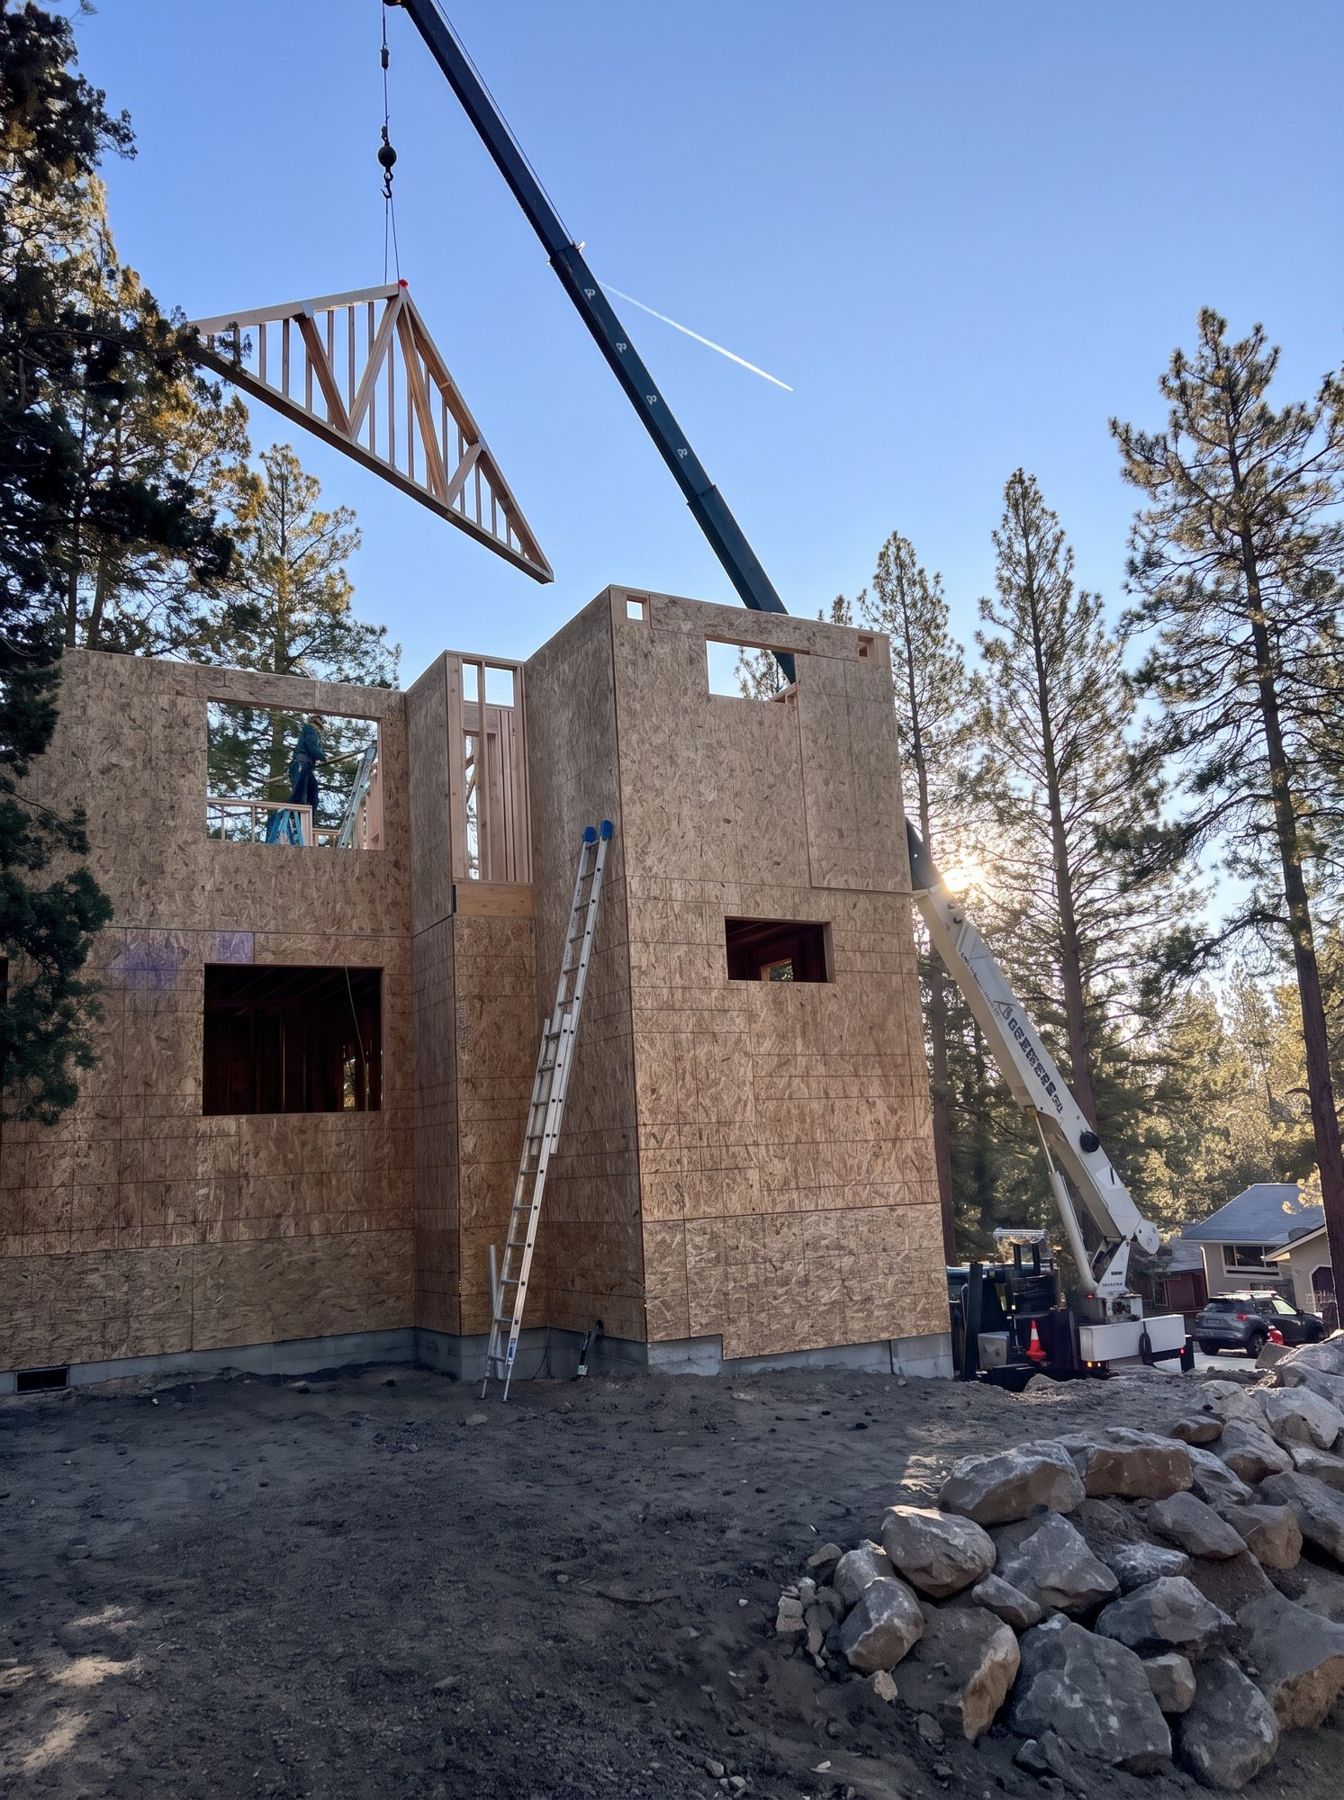
Roof trusses being set by crane on a sheathed two-story ADU

Stage 3

Floor and wall framing

Joists, rim, subfloor, then walls. The pre-approved plans specify plate heights and window openings to the inch, so framing is where "built exactly as drawn" actually happens. We frame tight, square and plumb, and we fix anything that isn't before drywall ever shows up.

What matters
Square and plumb, openings to the sheet, shear and hold-downs
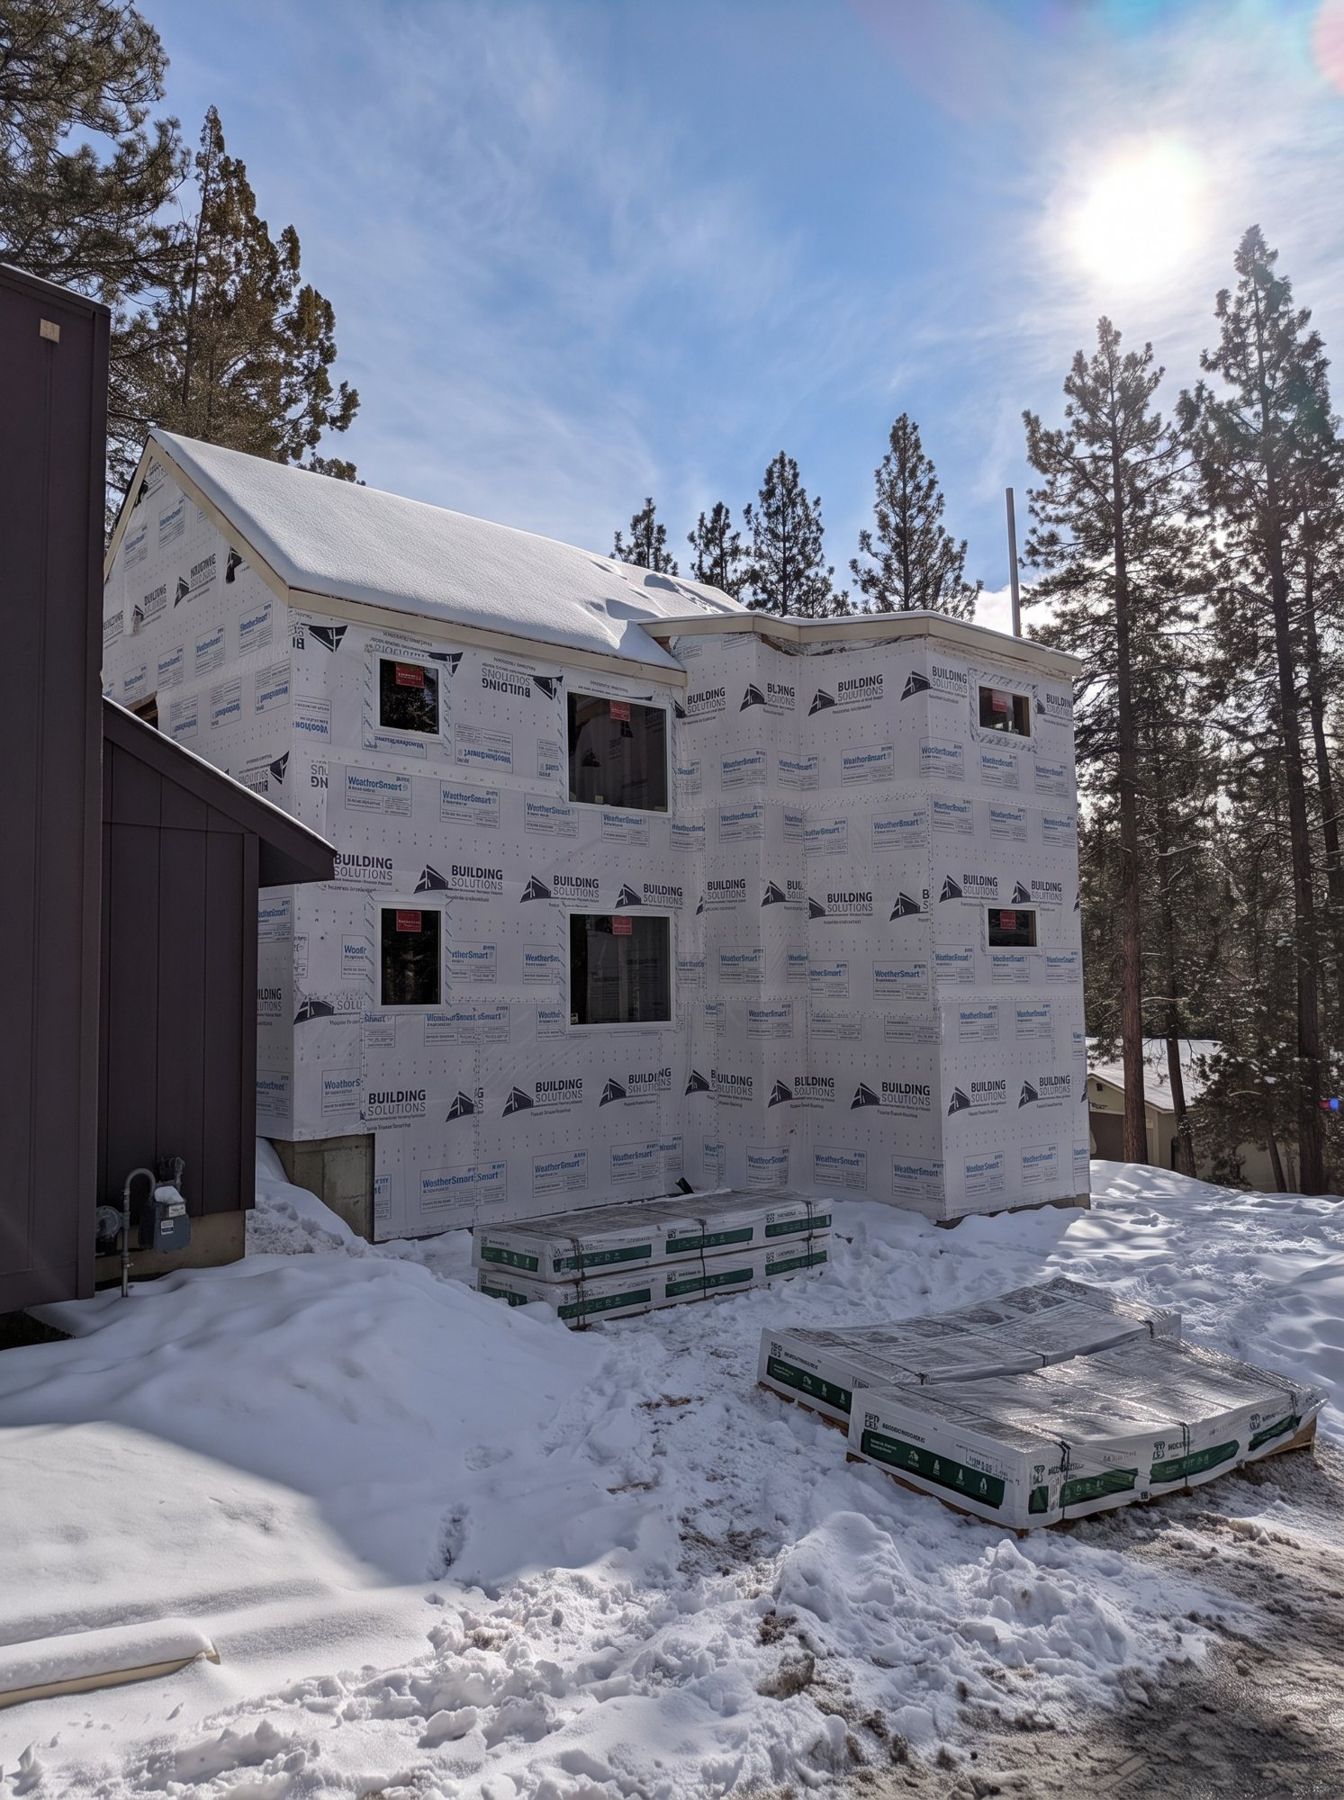
Two-story ADU sheathed and wrapped in weather barrier, dried in with snow on the ground

Stage 4

Roof and dry-in

Engineered trusses set by crane, sheathed and dried in fast so the inside stops caring about the weather. Central Oregon snow loads are designed into the plans; we build the roof to carry them and flash it so it stays dry for decades.

What matters
Truss bearing, sheathing, weather barrier, flashing
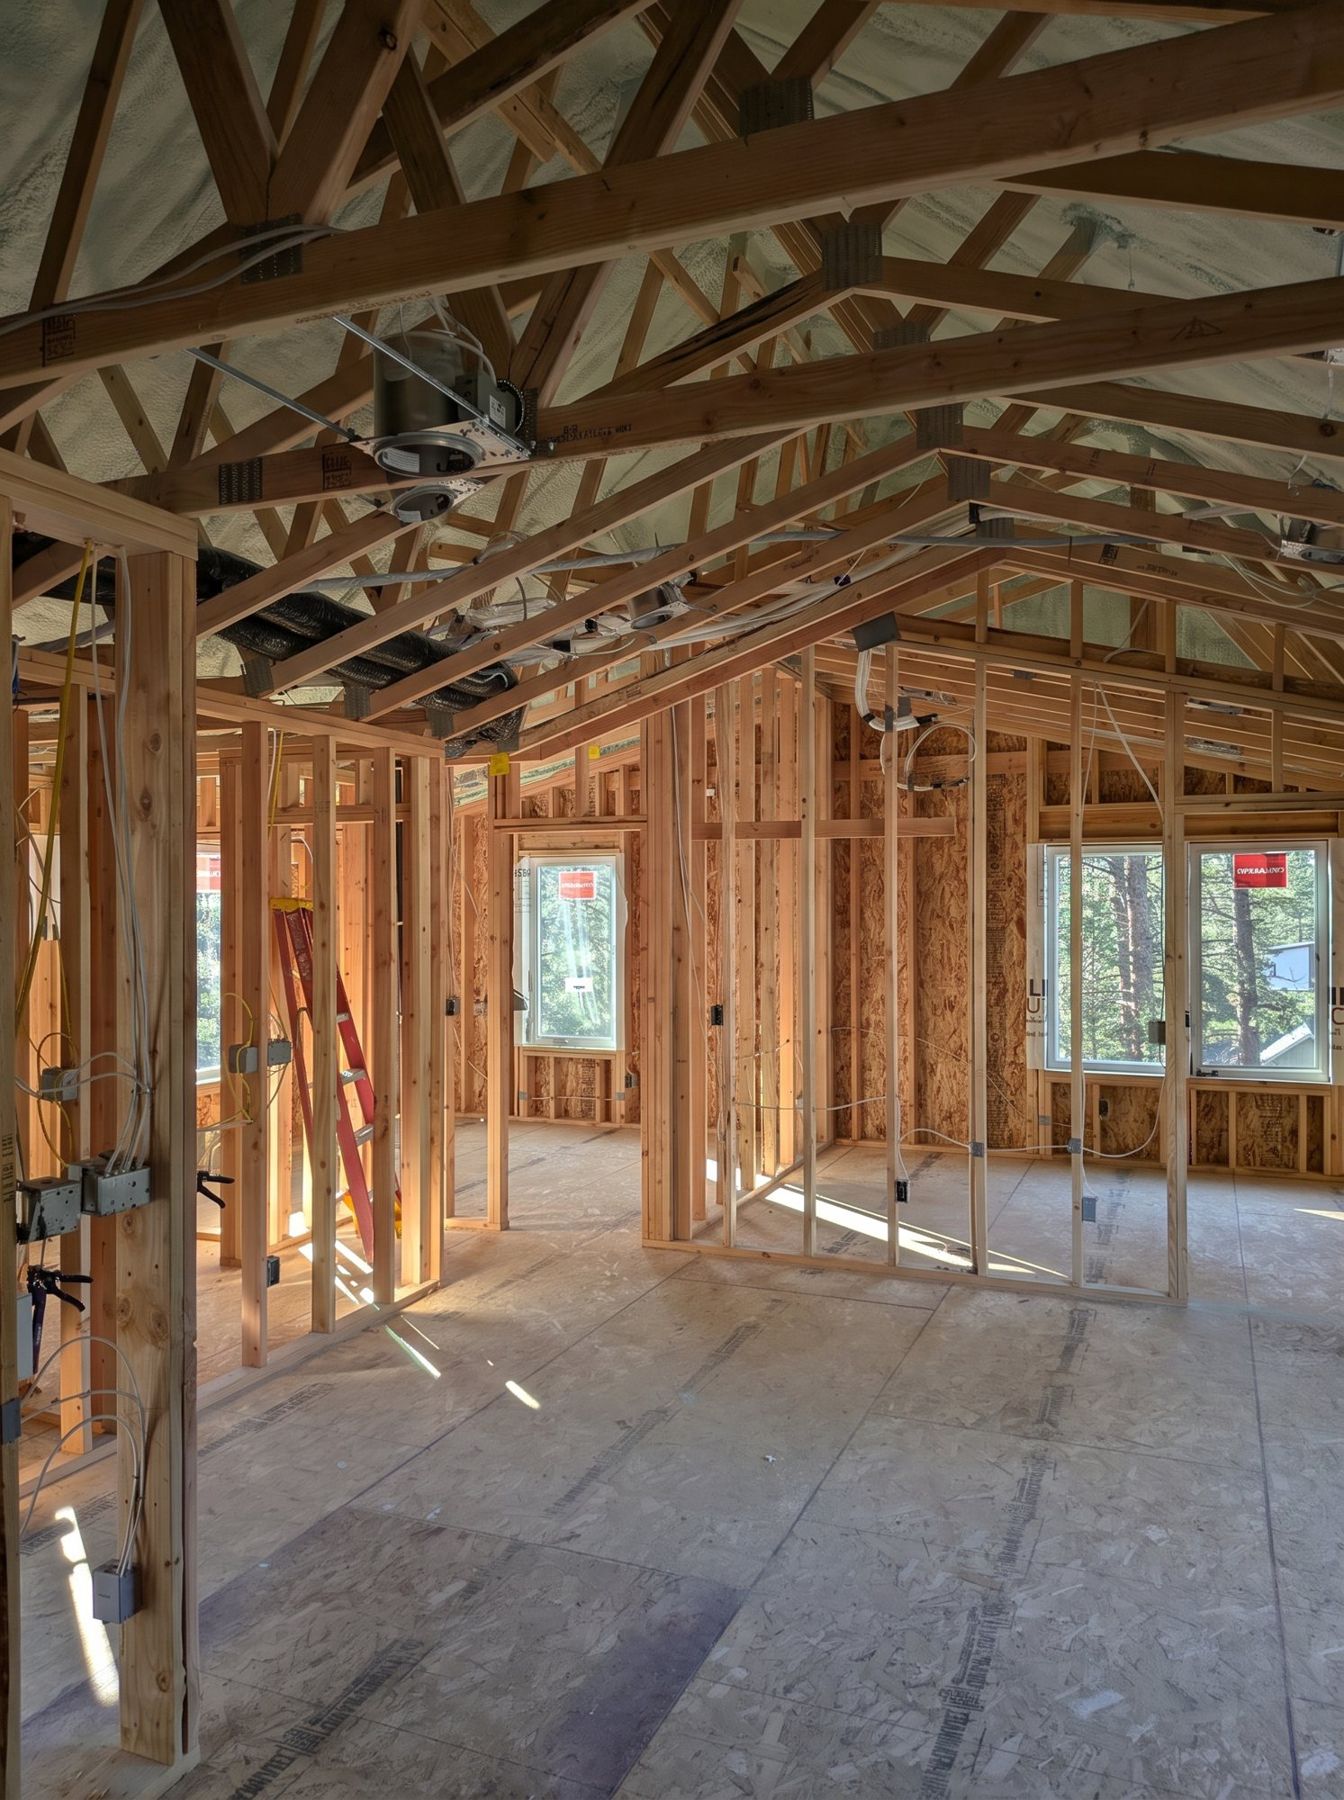
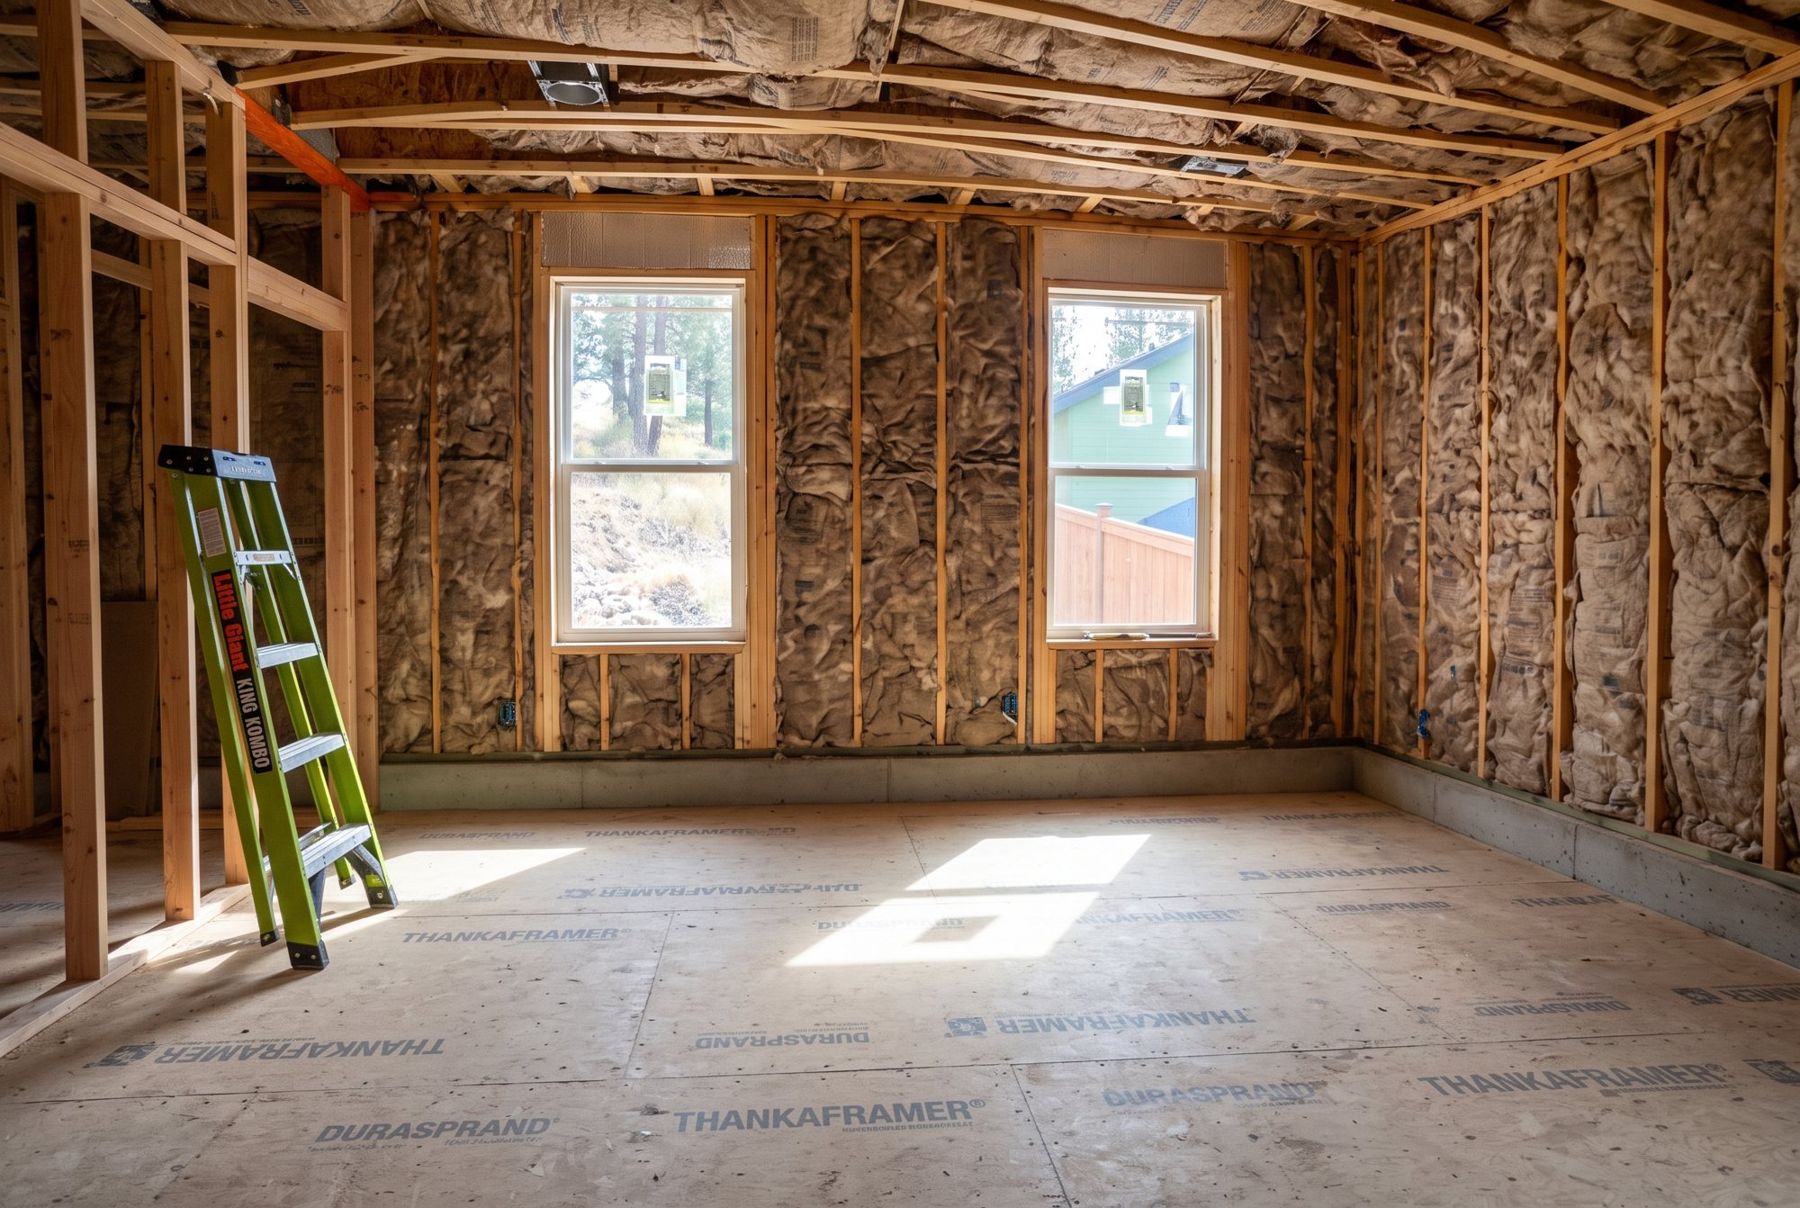
Open wall framing and roof trusses inside before the rough-ins go in
Interior with batt insulation and electrical roughed in, ready for drywall

Stage 5

Rough-ins and inspections

Electrical, plumbing and mechanical go in while the walls are open, then the City inspects every bit of it before insulation covers it. The sewer and water connections to the main house are planned at the lot-check stage, so there are no surprises here.

What matters
Utility routing, inspection schedule, energy code
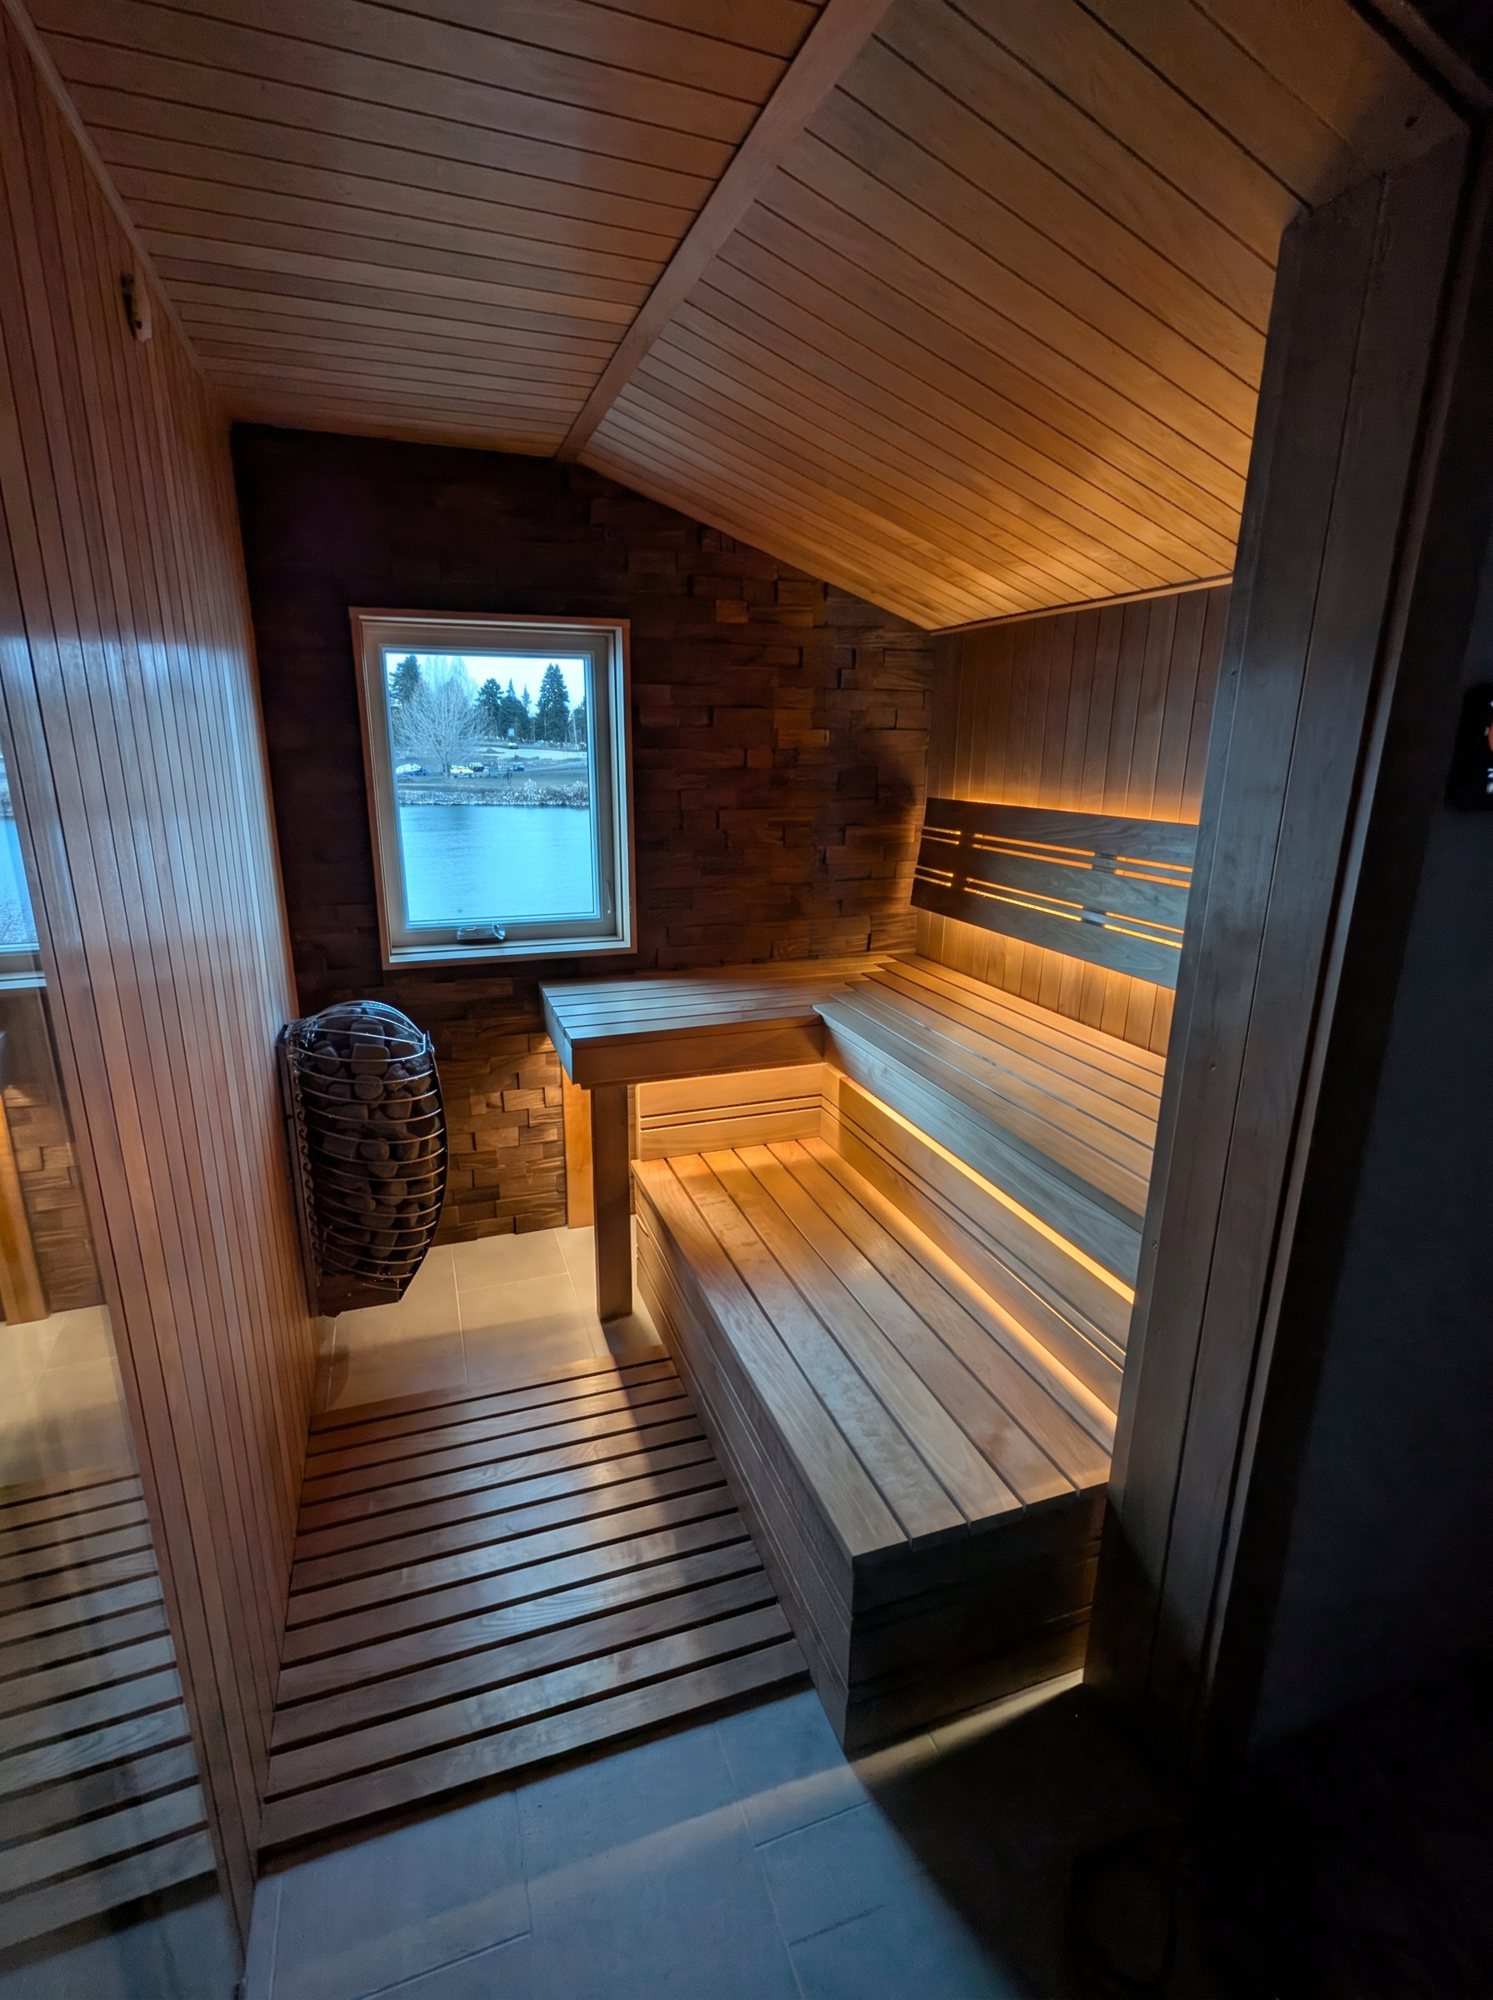
Finished cedar sauna with a window and bench seating

Stage 6

Finish

Cabinets, counters, flooring, doors, casing and trim. This is the part your tenant or your mother-in-law actually sees, so it gets the same attention as the foundation. Clean reveals, level counters, doors that close the way doors should.

What matters
Cabinet and counter fit, flooring transitions, trim detail
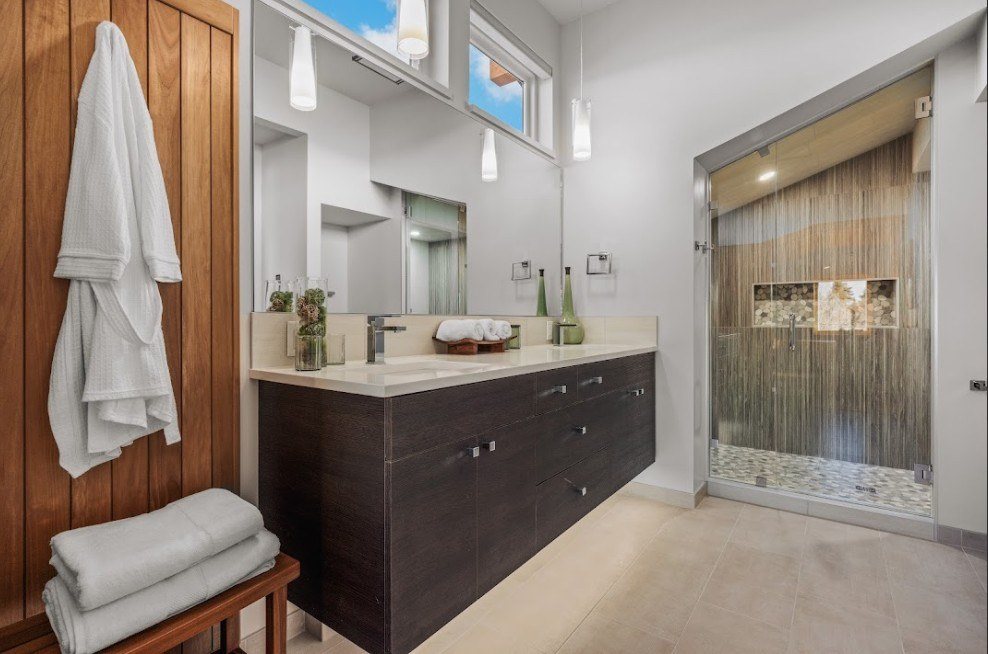
Finished bathroom with a floating vanity, wood accent wall and a tiled walk-in shower

Stage 6, continued

Tile and bath

Every pre-approved plan has one bathroom, and it's the room most likely to be photographed for a rental listing. Flat substrate, straight layout, tight grout lines, properly sealed. Done right once.

What matters
Substrate prep, layout, waterproofing
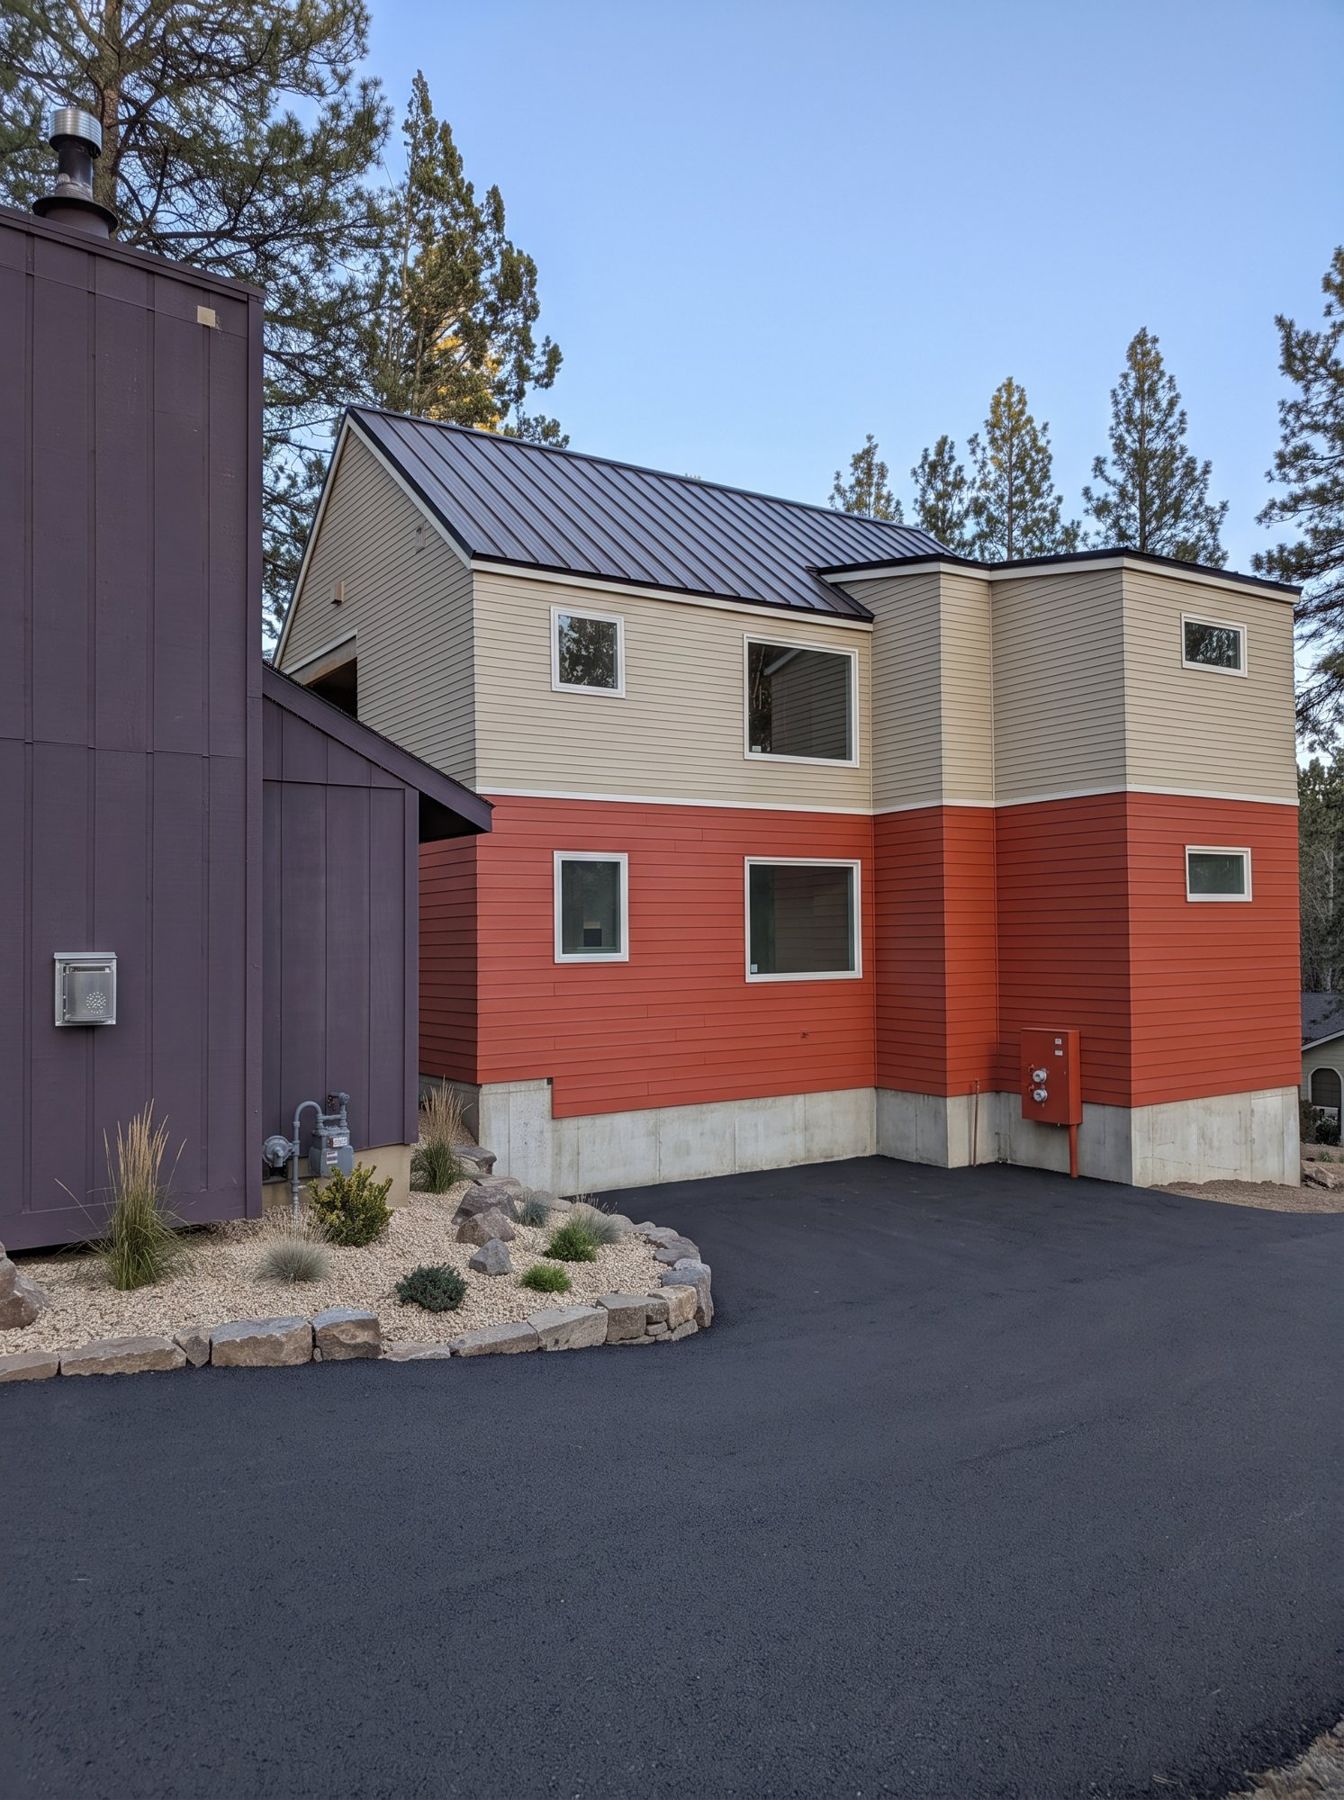
Finished two-story ADU with red and tan lap siding, standing-seam metal roof and a new paved driveway

Stage 7

Punch list and keys

Final inspection, then a walkthrough with you, room by room. Stacked laundry closets, closet doors, hardware and paint touch-ups all get checked off before we hand over the keys and the written warranty.

What matters
Final inspection, walkthrough, warranty

Find out what fits on your lot, for free.

Give us your address. We pull the zoning, setbacks and lot coverage from City records and tell you which plans fit, no visit required.

Check my lot →